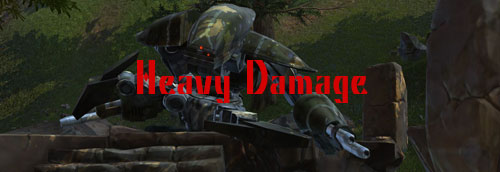
Heavy Damage is our weekly Tanking column – if you have suggestions of what you’d like covered, drop our resident Tank, Alec Bailey a line.
Mandalorian Raiders is this week’s Flashpoint. It’s a level 25 Flashpoint for both the Republic and Empire. The Flashpoint takes place on the Allusis and it begins with you and your party breaching the ship’s hull in an attack pod. Once you are on the Allusis you’ll need to fight your way to the command deck.
There are several bosses and mini bosses located throughout this Flashpoint. I will go over each one and detailing what strategy you should be using as a Tank.
Braxx the Bloodhound
Braxx the Bloodhound is accompanied by two adds that are resistant to knock-back and crowd control abilities. Braxx will occasionally use an ability that is made visible by a large red reticule – if either of the hounds are inside this reticule their attack speed and damage are increased. It’s best to keep Braxx’s attention away from the party. When I ran this I tried to keep his back turned as the damage dealers burnt down the adds. The hounds have a random aggro, so they will bounce from player to player. It might be easier to just spread out as this will keep the hounds from getting his buff as often, and then just burn down Braxx then work on his hounds.
Boarding Party
The second boss fight consists of a Sith Warrior, a Sith Inquisitor, a Bounty Hunter, and an Imperial Agent. All four are immune to any form of crowd control. It’s best to take out the melee characters first then work your way to the ranged. As each of the boarding party fall the other members will become stronger. One strategy I’ve seen used is to get all four members down to about 10% health then burn them all down in rapid succession. I would NOT recommend this strategy for a pick up group. Either way you tackle this encounter it will be one of the most difficult fights you’ve been in yet. As a Tank you’ll need to make sure you have your guard up on someone and just try to keep the melee focused on you.
Marvis Varad
Marvis Varad is the final boss – this encounter begins with you only having to deal with Marvis and as his health is depleted he will leap to turrets positioned around the room. Disengage Marvis and destroy the turrets each time this happens. Varad will also throw grenades at random party members – this is easily avoidable as it is indicated by a large reticule on the ground. The turrets are susceptible to crowd control abilities so keep that in mind.
There are also 100 Lightside or Darkside points available on this mission.
As always stay frosty and may the force be with you!


Recent Comments